Creating a Multistop TL shipment in Ship It.
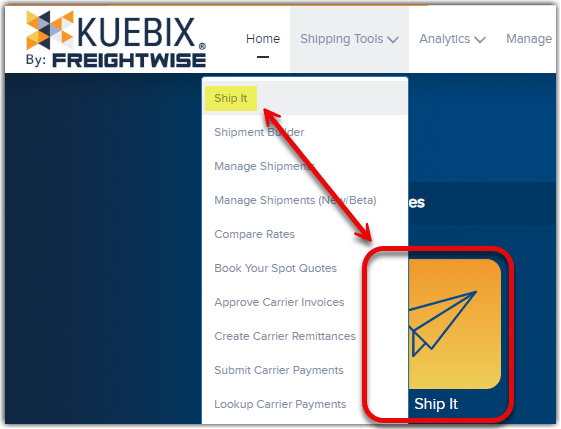
To create a Multistop shipment, navigate to Ship it via Ship It tile on the home page or from the drop down Shipping Tools menu at the top of your screen.
Next, select the applicable Multistop type from the Shipment Type options.
For this example, I am using Multistop Delivery.

Enter the Address and Contact information as you would normally.
The Delivery Date, Delivery Number, and Delivery Window information will need to be entered for each specific Stop.
The first desired stop should be 1, the second 2, etc.
Once the Address, Contact, and Delivery information are entered, click Add Delivery in the bottom right corner of the section.

Repeat the process with each additional desired stop location.
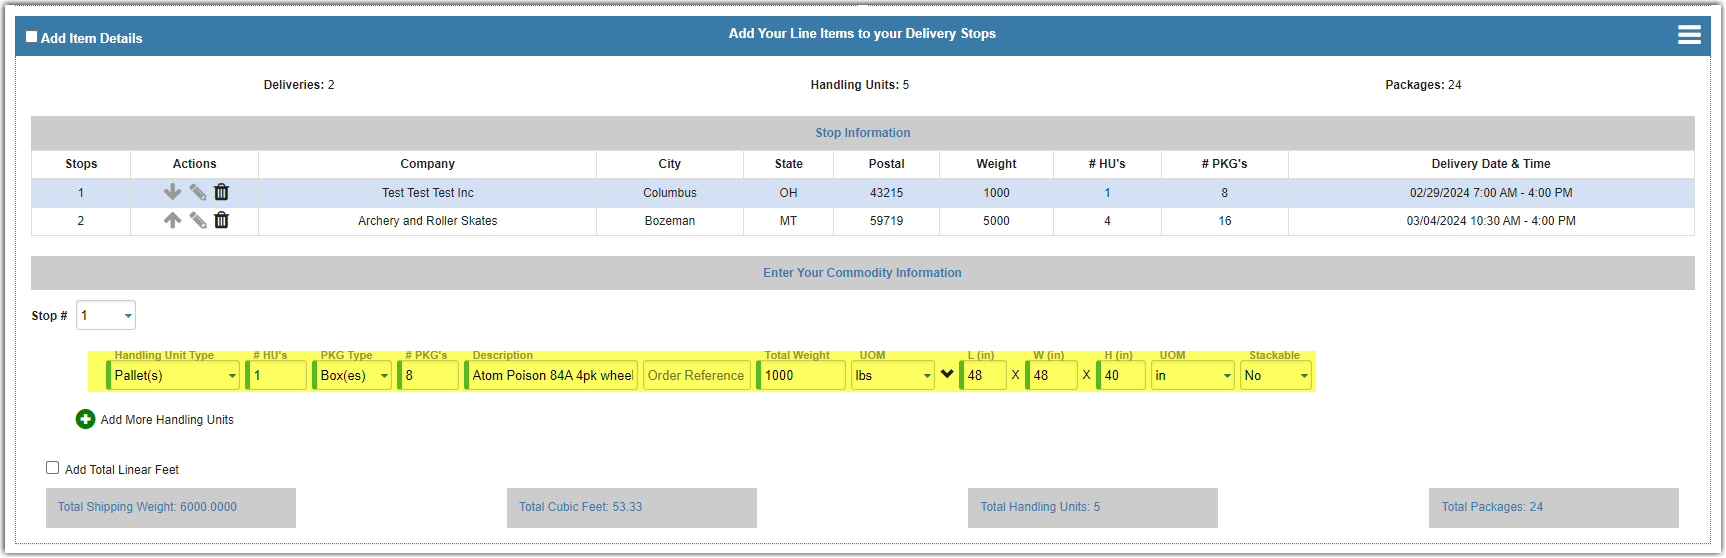
Once you’ve entered all stops, we can now add the Line Items.
Scrolling down to the Line Item area, we can see basic information for each entered stop, including the set Delivery Date and Window.
The blue highlighted line indicates which stop has been selected.
Enter the Handling Unit and Line Item information for the stop you’ve selected.
Either click on the next stop, or select it from the drop down Stop # menu.
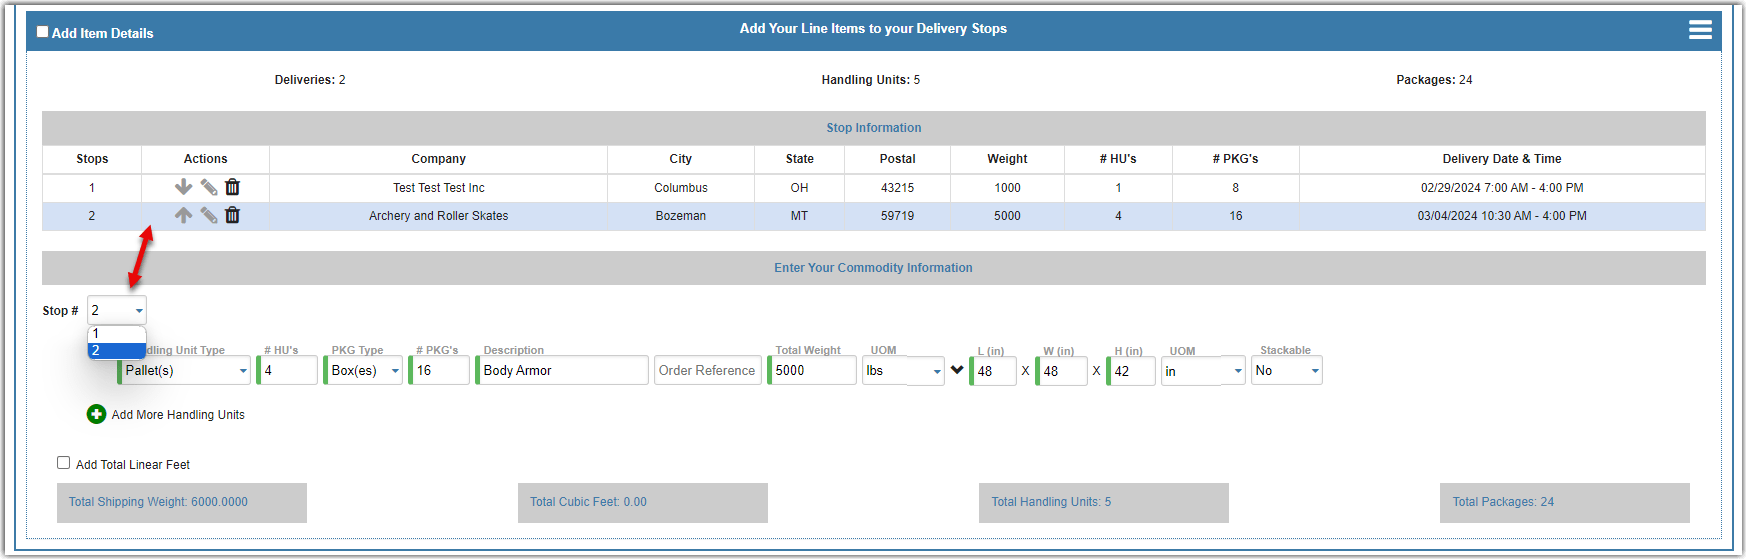
The Handling Unit and Line Item information can now be entered for the next Stop.
The icons in the Action column will let you move the shipment in the stop order, adjust the shipment stop, or delete the stop all together.
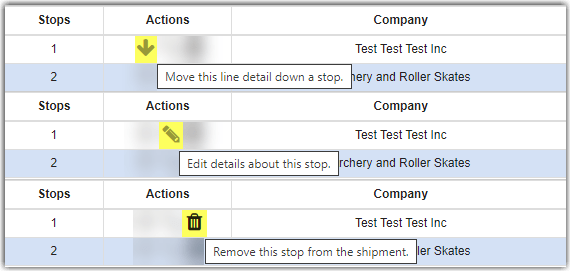
Clicking on the Edit details will bring up a window to adjust the address and date + time.

Once the stops and line items are setup correctly, click the Contract Rates button.